Continuing from the last time, from the Kyoto dyeing factory that dyes Ren's scene tenugui.
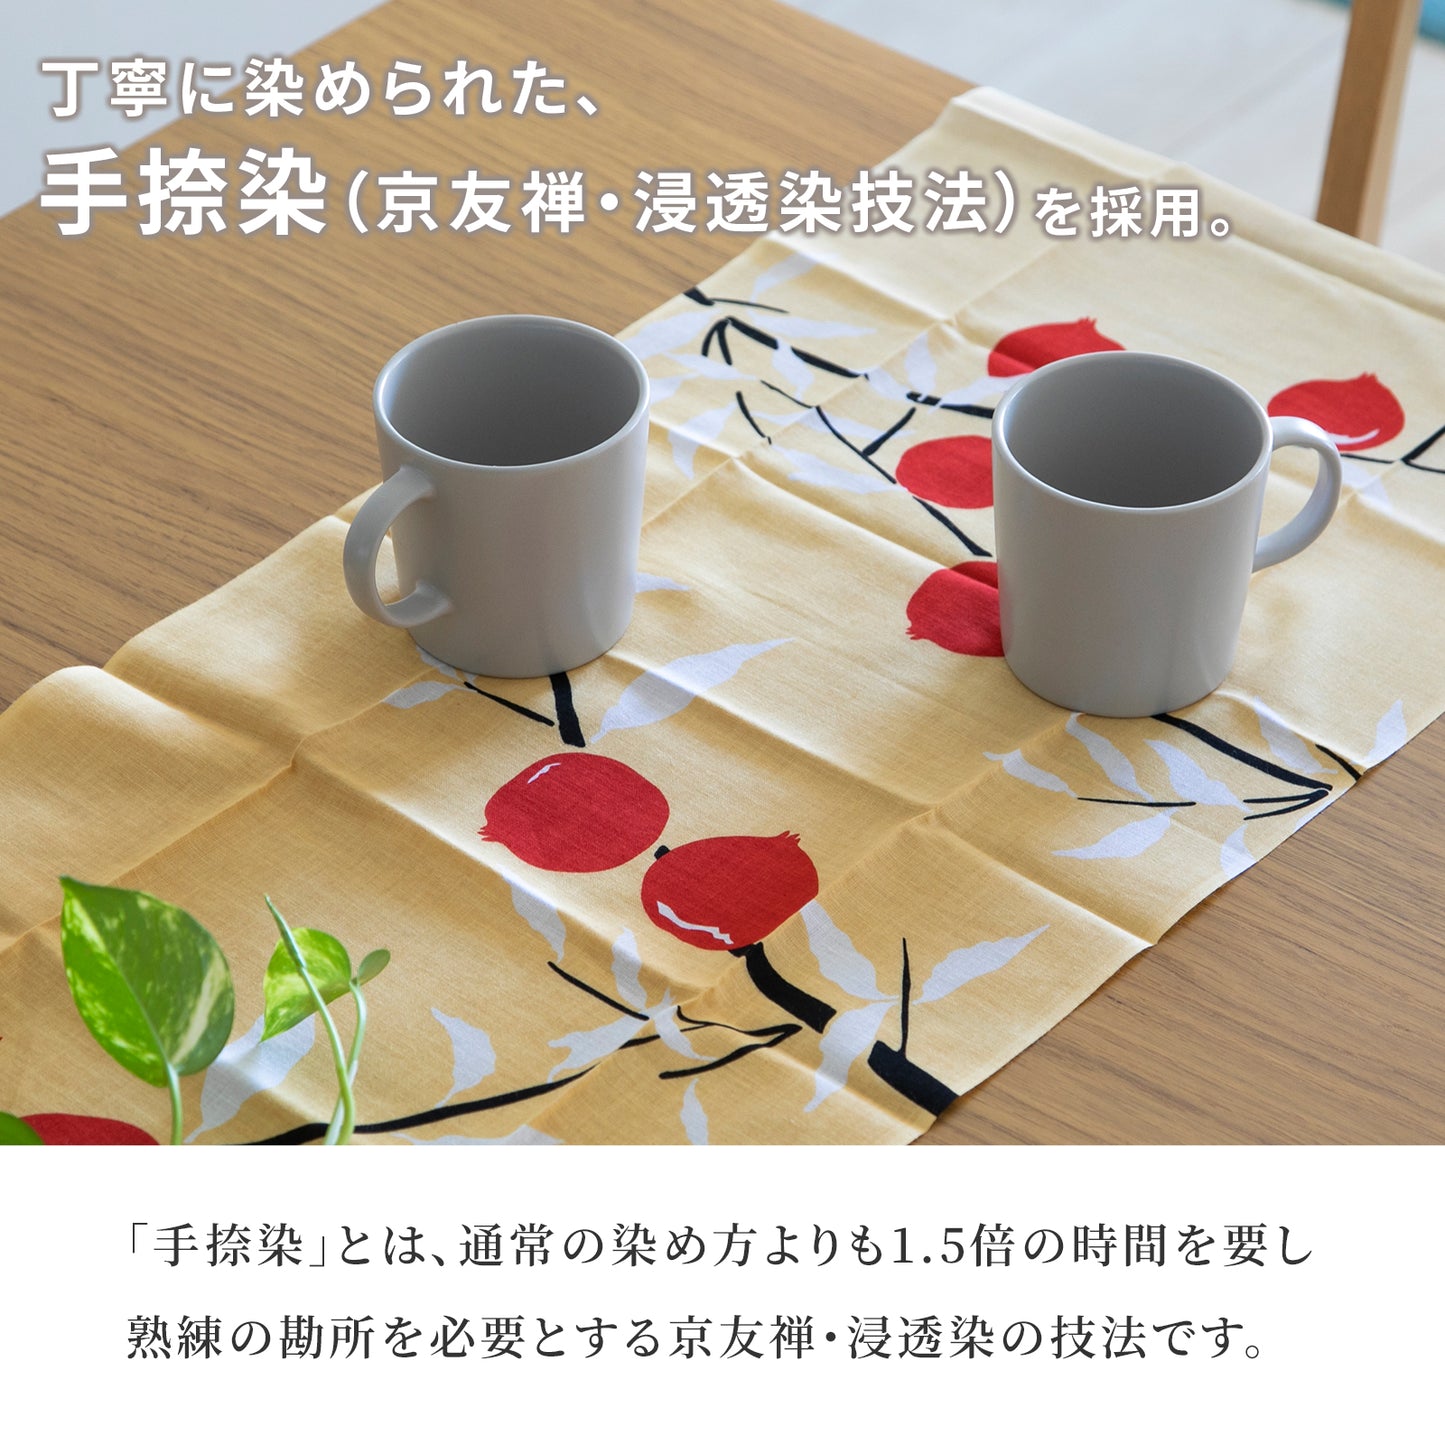
As I touched on last time, Ren's tenugui are dyed using a special technique called osmosis dyeing.
It can be said that it is a dyeing that combines the fine and delicate pattern expression that is characteristic of Nassen, and the deep taste that penetrates to the back, which is characteristic of Chusen.
This time, I would like to introduce the process of penetrating dyeing.
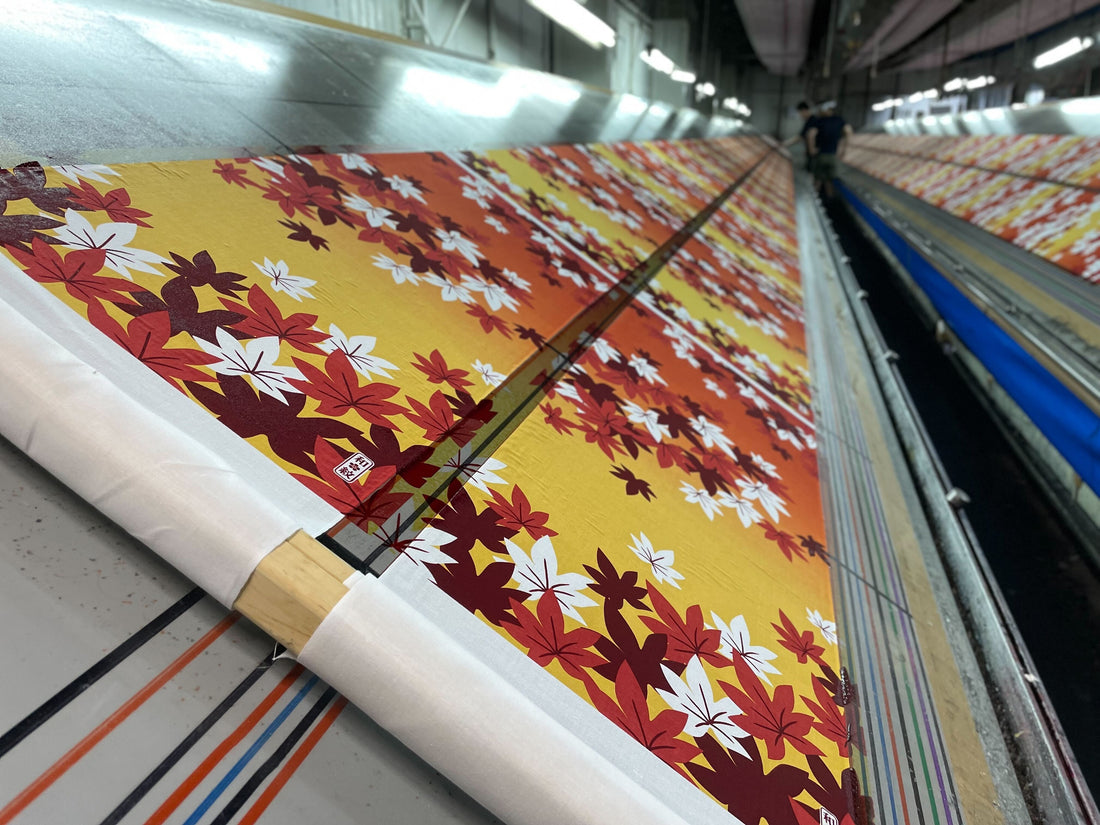
Paste towels at Itaba

First, the cloth for the towel is pasted on a long board called Itaba.
The depth of the board is about 24m.
This factory was originally used as a board for dyeing furoshiki, so the width of the cloth is larger than that of tenugui.
For this reason, two layers of wipes are attached at the Itaba and dyed at the same time.

In order to avoid misalignment with the mold, we will paste it so that there is no distortion up and down.
This is an important process because it must be applied with appropriate tension.
Collect the prepared dye in a saucer


We will collect the dye prepared in advance in the saucer of the mold.
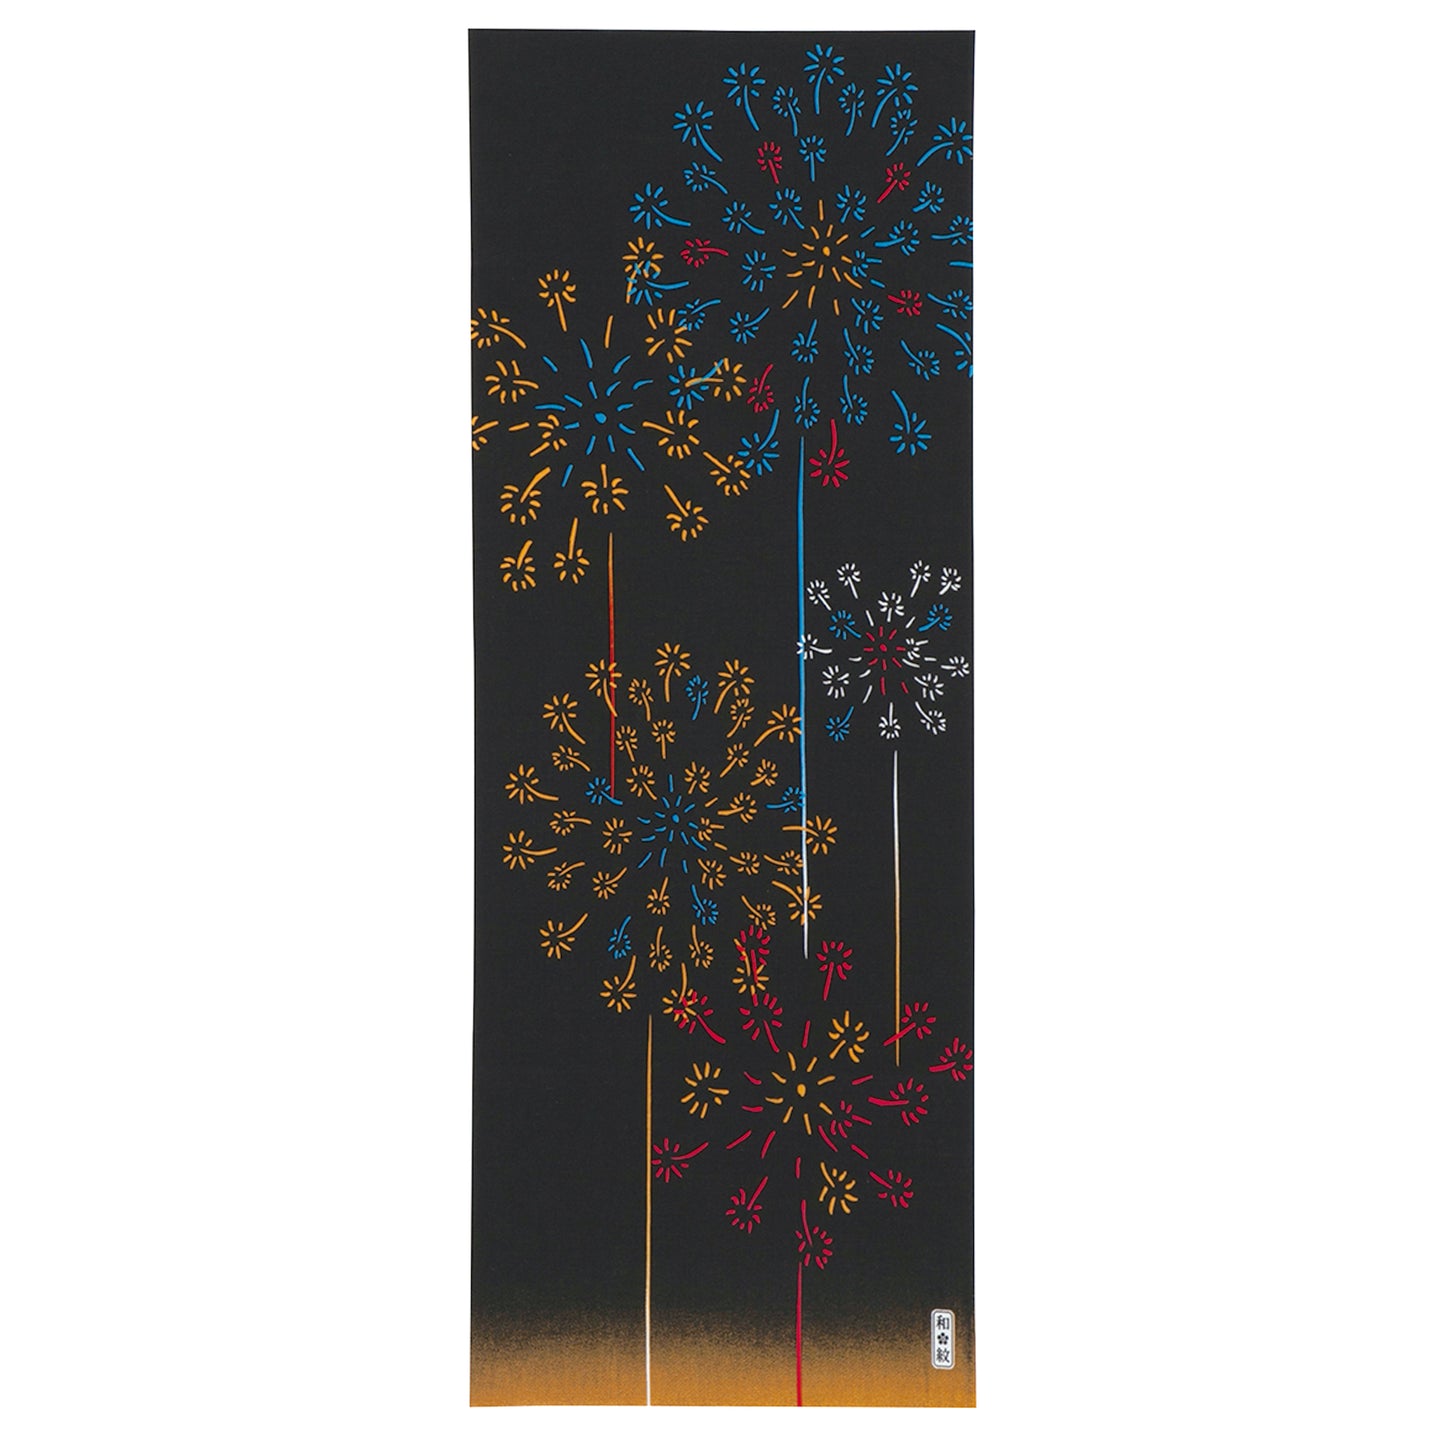
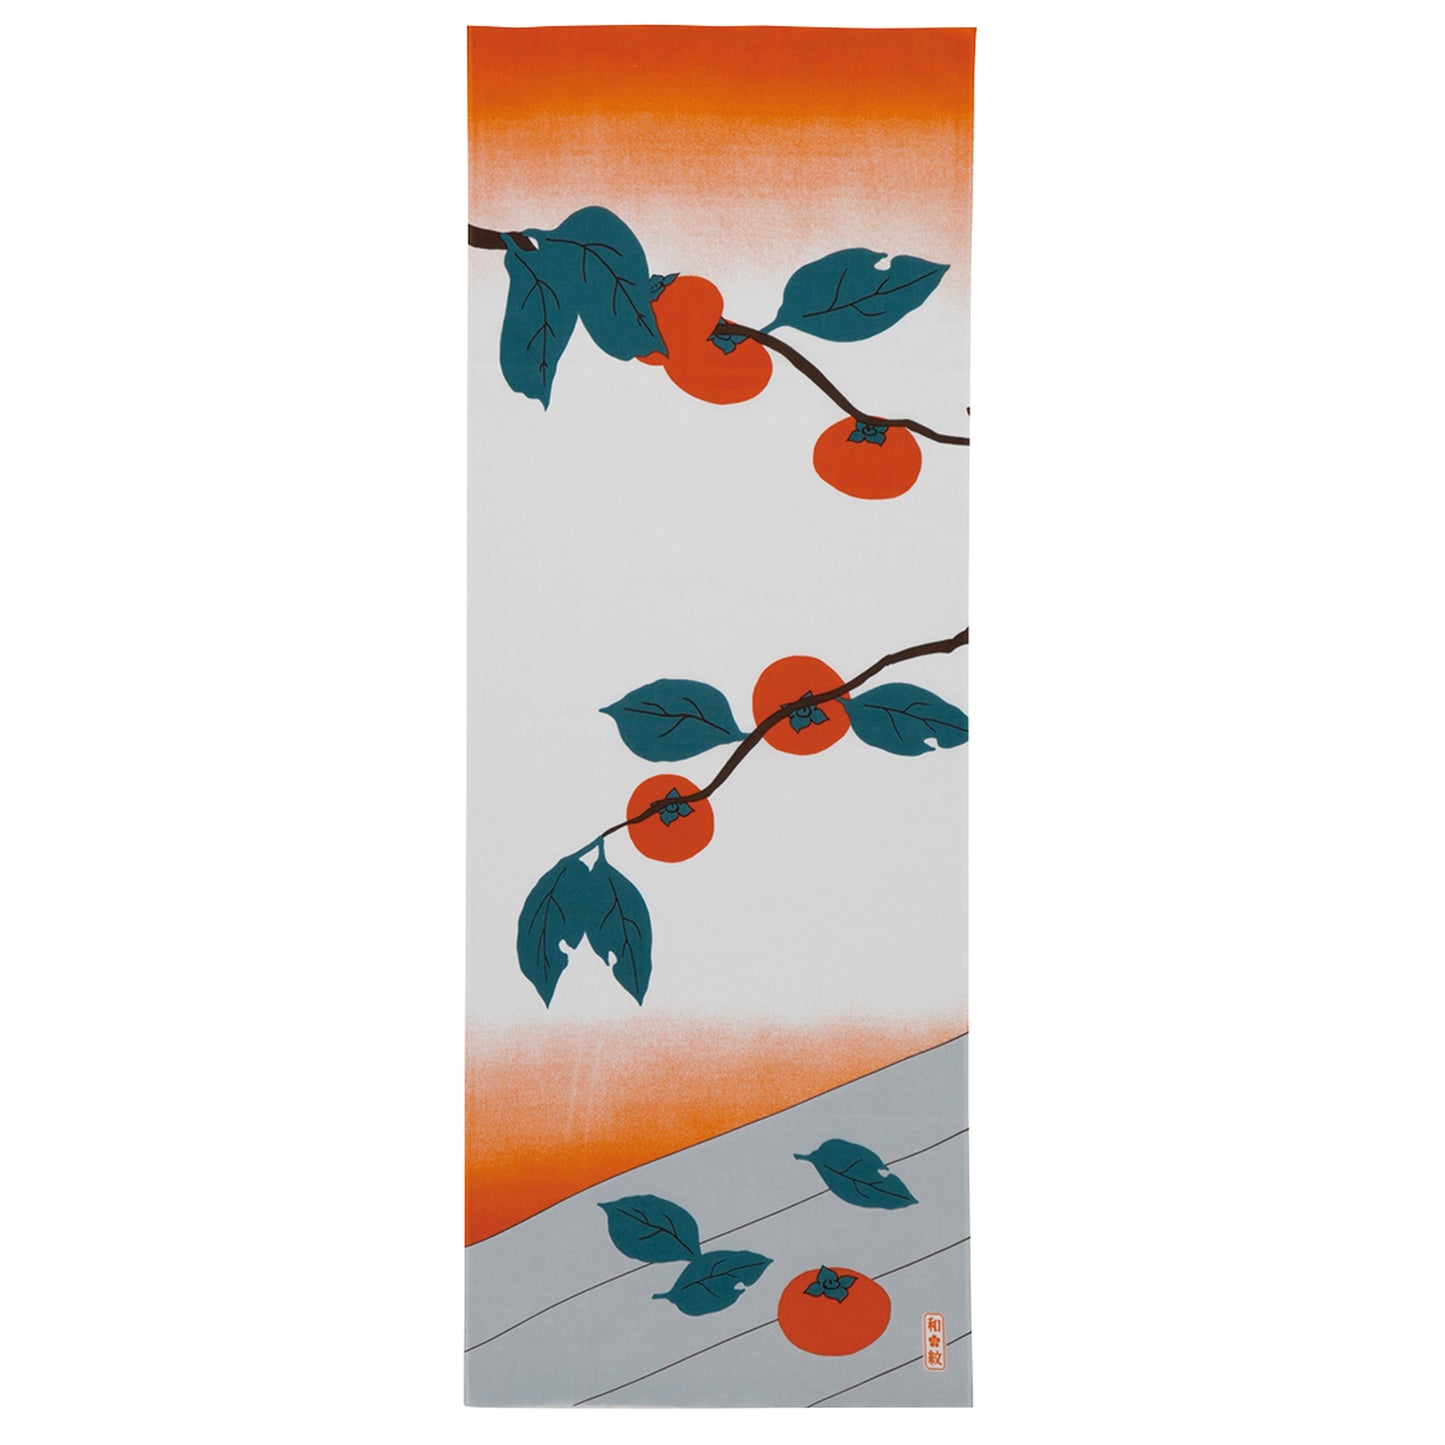
first color dye

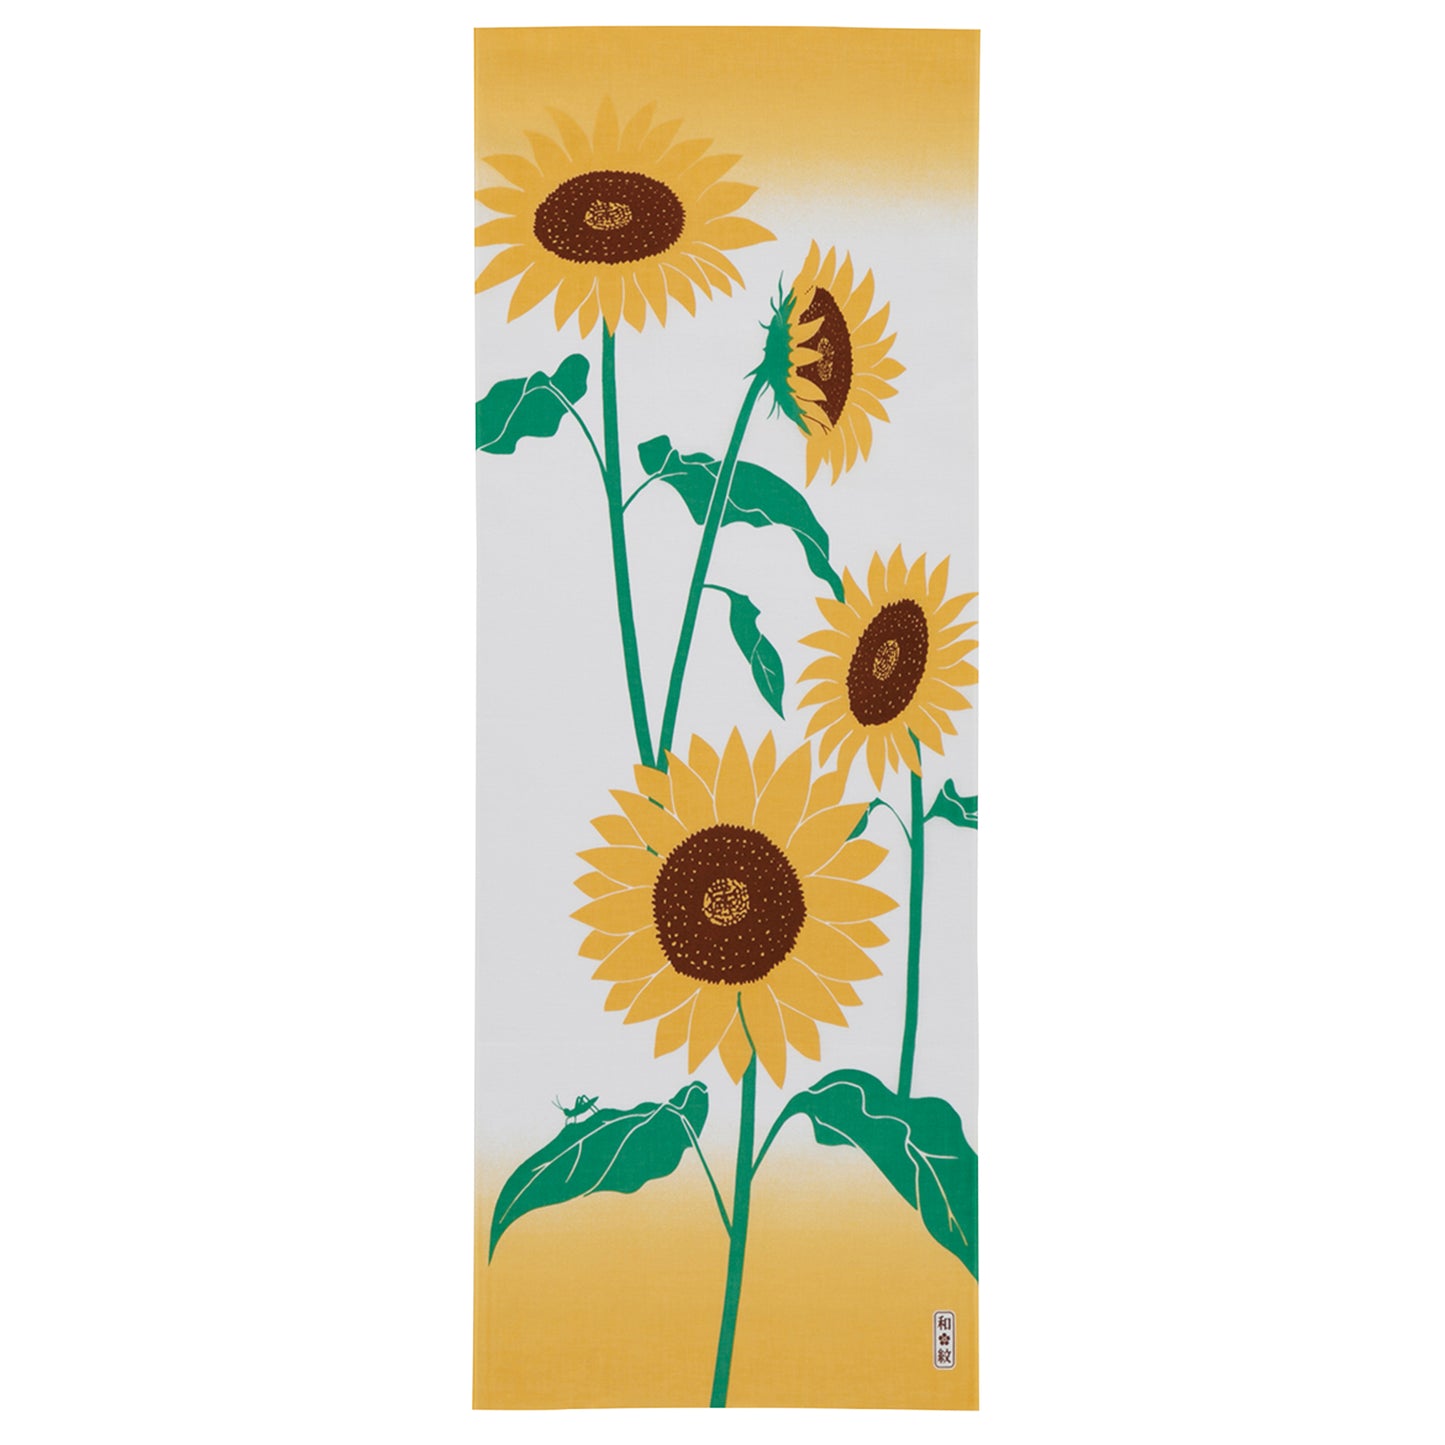
The first color is dark orange.
Dyeing is done from the top of the mold with a careful and constant rhythm.
second color dye
Once the first color is dry, apply the second color.
The second color is a light orange ground color.
It was done carefully so that the pattern would not shift.
ground color penetration
After dyeing the second color, it takes time for the ground color to penetrate.

In the case of normal Nassen, the temperature of the itaba is set to around 45 degrees to dry, but in the case of penetration dyeing, the temperature is lowered to about 30 degrees and the material is allowed to permeate slowly.
This is where penetrating dyeing takes more time than normal printing.
However, this extra effort is the key to creating a deep dyed finish.
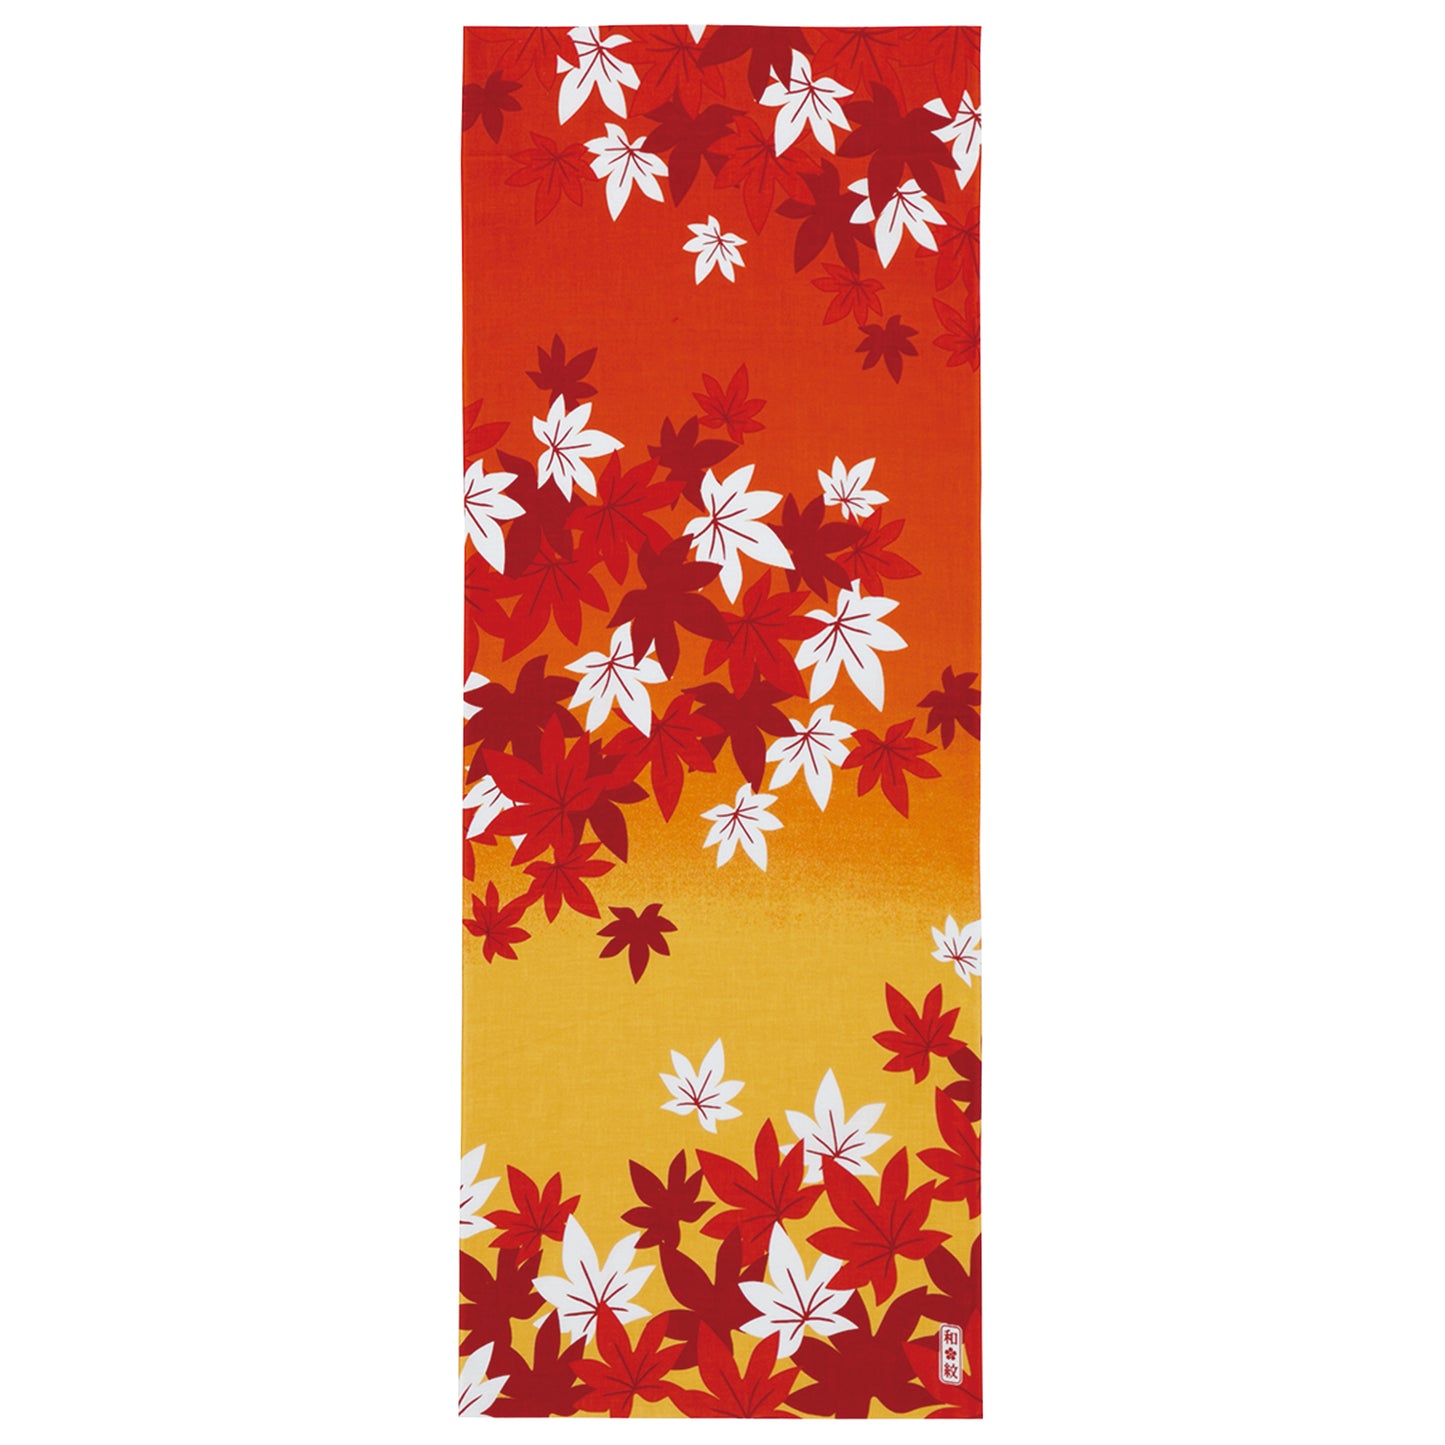
third color dyeing

The third color is a darker orange than the first.
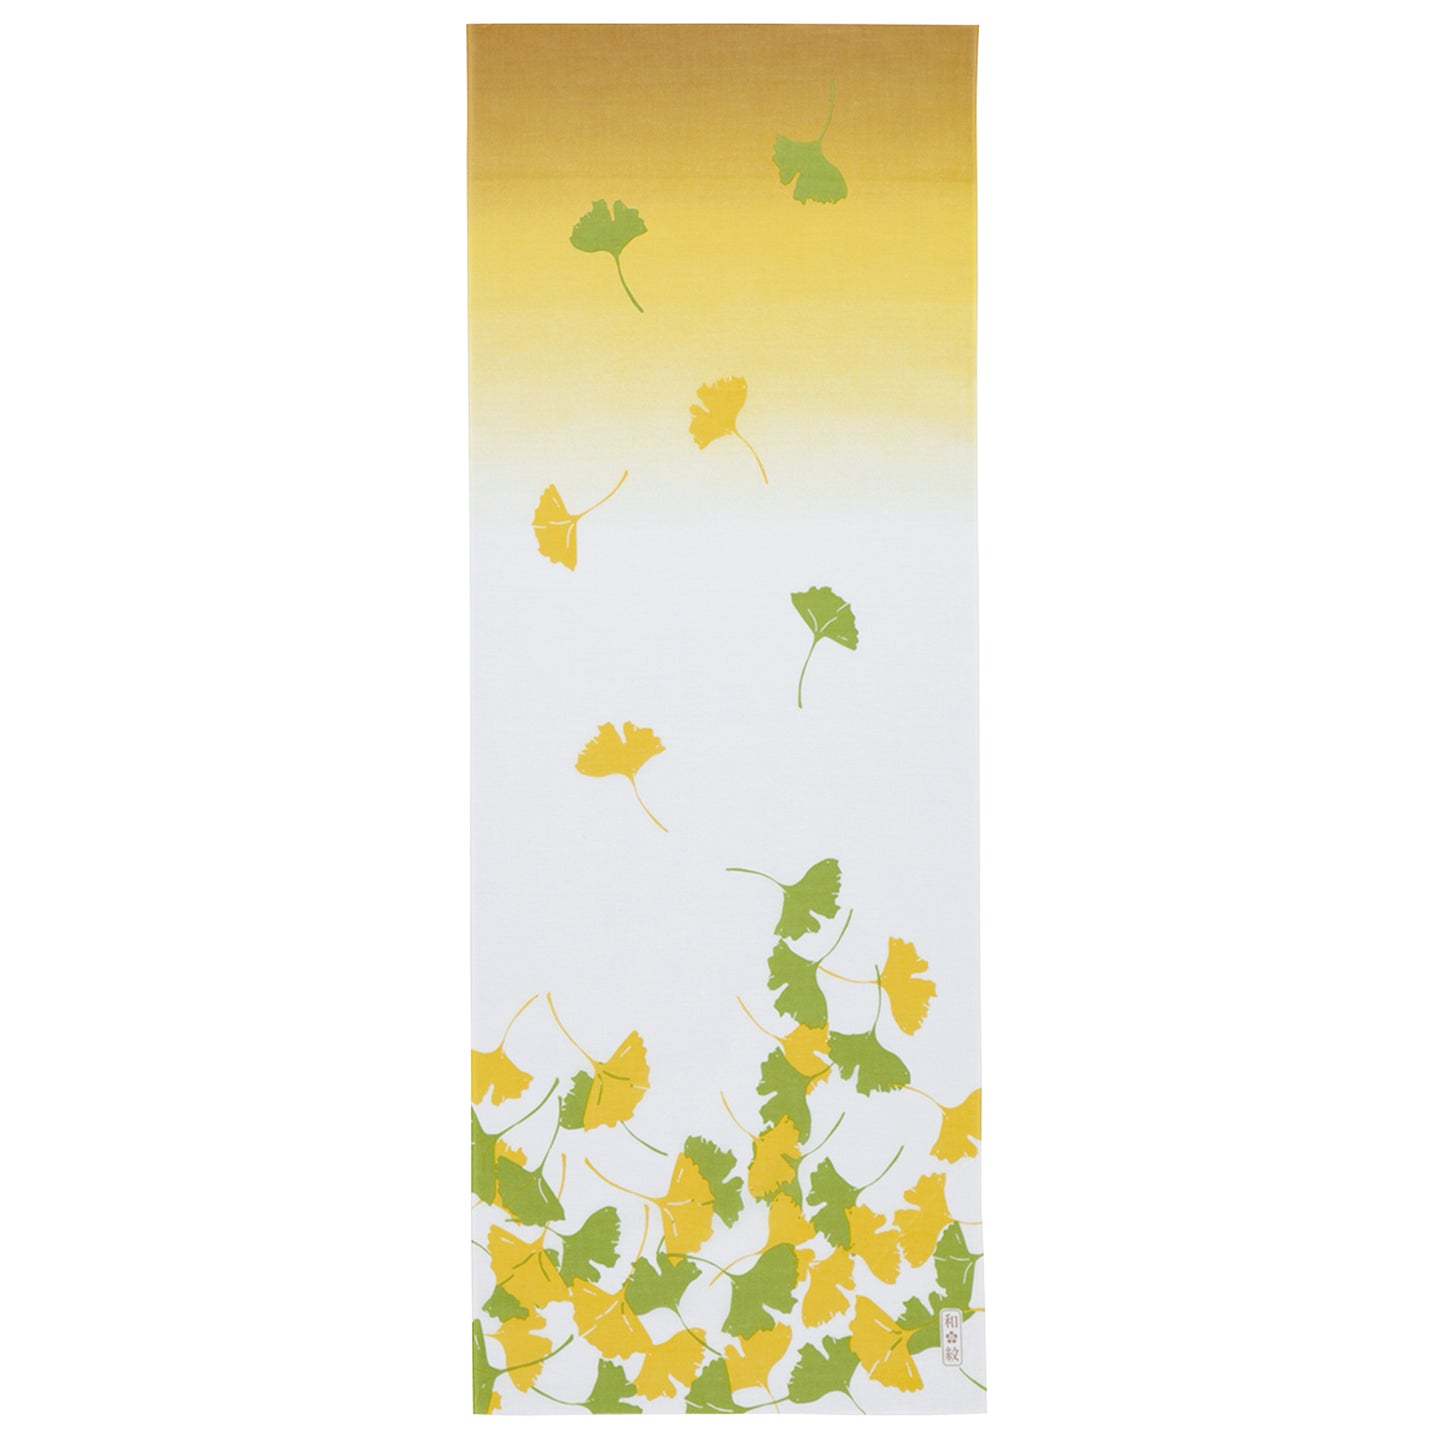
Until the second color, I dyed with the autumn leaves shape, but this time I dyed with the autumn leaves shape.
You can see that the overlapping colors gradually create depth and depth.
fourth color dye
The fourth color, which is the final dye, is dark red.

The addition of a blacker, more glossy color than the previous orange makes it look sharper.
Hanging for penetration and drying
As soon as the dyeing is finished, it is hung from the ceiling in order to promote penetration.
The process of dyeing is completed when it is permeated and dried.
At the next factory, it is washed and dried to complete the process.
Seeing the osmotic dyeing site, I felt anew the value of "time and effort". Speeding up for mass production and efficiency is considered justice, but I would like to cherish the value that is created by spending time and effort to penetrate.
Please try using one of the tenugui dyed by a craftsman in Kyoto.